How to Make and Share 3D Minecraft Fan Art: From Pixel to Pixel Perfect – Minecraft, the blocky sandbox game that’s captured the hearts of millions, has also sparked a vibrant community of fan artists. From pixel art to 3D models, players are constantly finding new ways to express their love for the game.
If you’re itching to create your own Minecraft fan art and share it with the world, this guide is for you. We’ll walk you through the entire process, from choosing your subject and design to mastering advanced techniques like animation and post-processing.
Whether you’re a seasoned artist or just starting out, we’ll equip you with the knowledge and resources you need to create stunning 3D Minecraft fan art that will impress your fellow players and showcase your unique creative vision. So, grab your digital tools, fire up your imagination, and get ready to dive into the world of Minecraft fan art!
Understanding Minecraft Fan Art
Minecraft fan art is a creative expression of love and appreciation for the popular video game, Minecraft. It encompasses a wide range of artistic creations inspired by the game’s blocky world, iconic characters, and diverse environments. It serves as a platform for players to showcase their skills, share their passion for the game, and connect with other members of the community.
Types of Minecraft Fan Art
Minecraft fan art takes many forms, each showcasing a unique artistic style and approach.
- Pixel Art: This type of fan art uses a grid of pixels to create images, often resembling the game’s blocky aesthetic. Pixel art can be created using various software programs and is commonly used for creating sprites, icons, and even entire scenes from Minecraft.
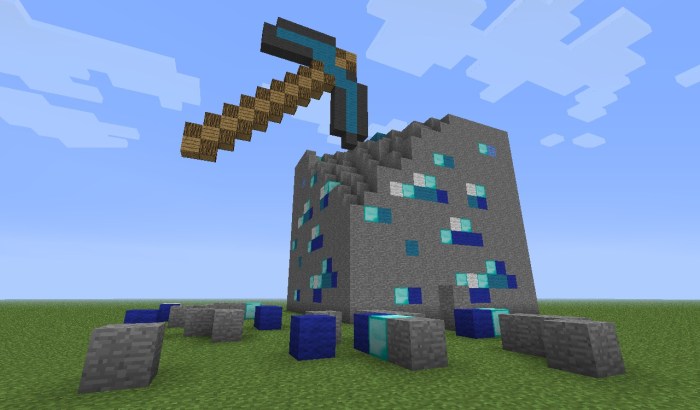
- 3D Models: These are digital representations of objects, characters, or environments created in 3D modeling software. 3D models can be highly detailed and realistic, capturing the essence of Minecraft’s blocky world in a three-dimensional space. They are often used for creating animations, game assets, and even printable figures.
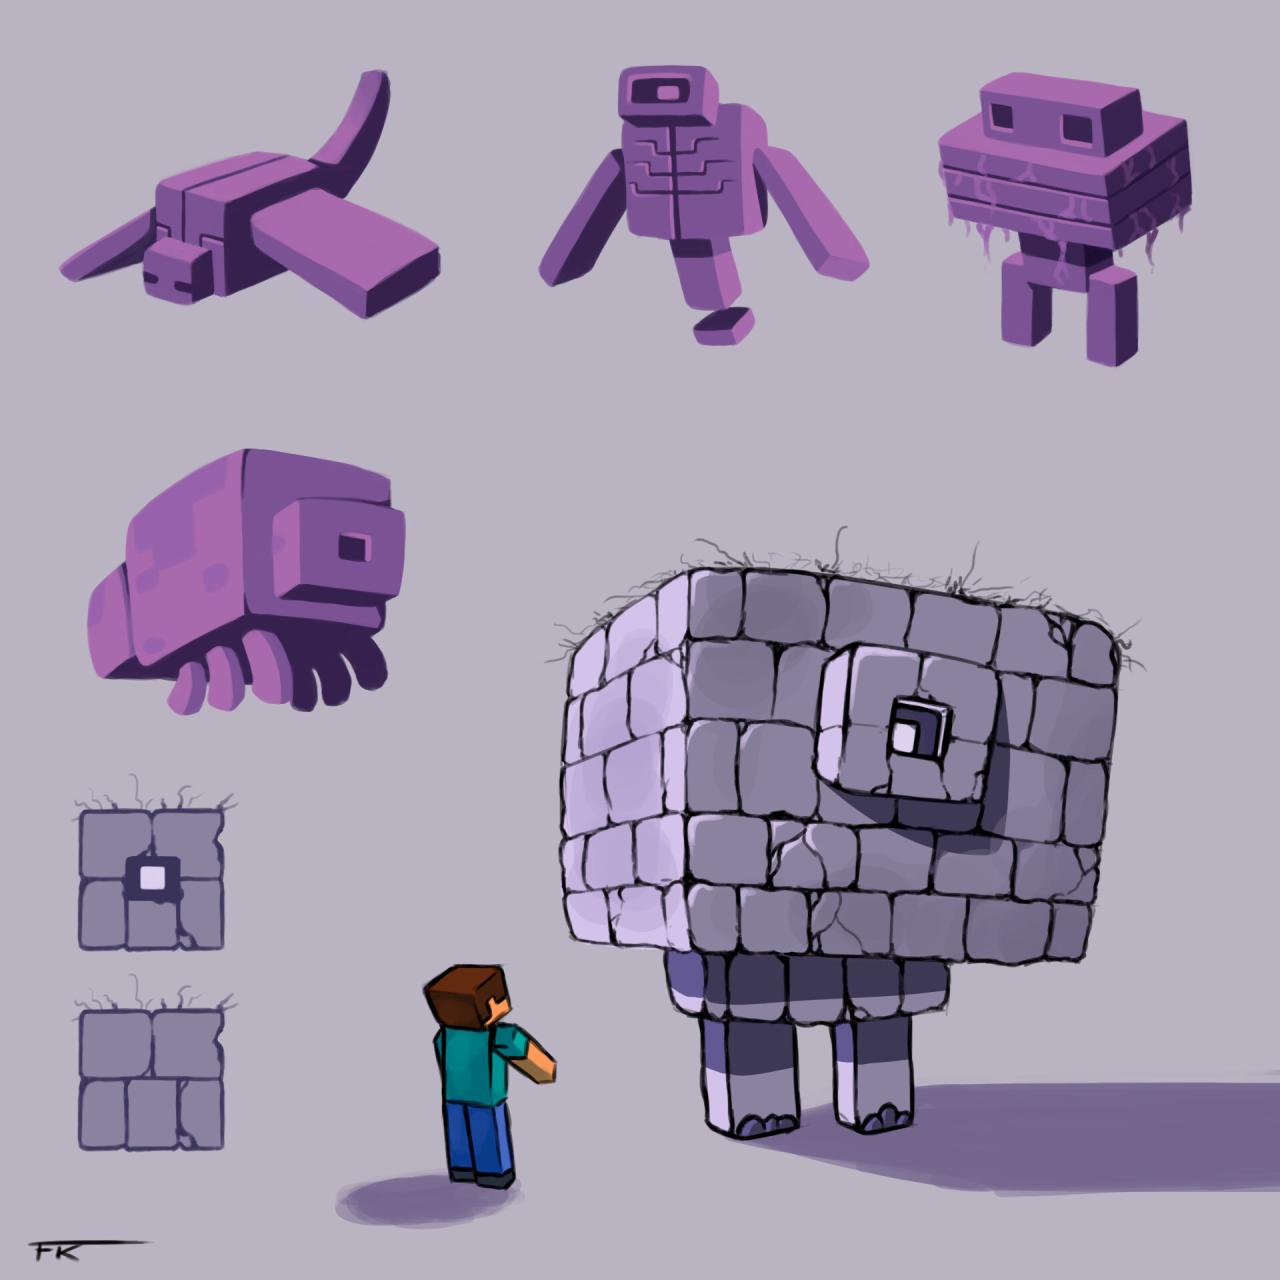
- Sculptures: Sculptures are three-dimensional works of art created using physical materials, such as clay, wood, or even Lego bricks. Minecraft sculptures can range from small figurines to large-scale installations, replicating iconic structures, characters, or even entire landscapes from the game.
- Paintings and Drawings: Traditional art forms like paintings and drawings also find their place in Minecraft fan art. Artists use various mediums, including acrylics, watercolors, and pencils, to create interpretations of Minecraft’s world and characters. These artworks often capture the unique charm and blocky beauty of the game.
Tools and Software for Creating 3D Minecraft Fan Art
Creating 3D Minecraft fan art requires specialized software and tools.
- Blender: This open-source 3D modeling software is widely used for creating 3D models, animations, and even video games. Blender is known for its powerful features and extensive community support, making it a popular choice for both beginners and experienced artists.
- Maya: Developed by Autodesk, Maya is a professional-grade 3D modeling and animation software used by studios and individuals worldwide. It offers advanced features for creating high-quality 3D models and animations, making it a suitable option for creating detailed Minecraft fan art.
- 3ds Max: Another powerful 3D modeling and animation software from Autodesk, 3ds Max is known for its user-friendly interface and extensive plugin library. It’s a versatile tool that can be used to create a wide range of 3D models, including those inspired by Minecraft.
- Minecraft Blockbench: This specialized software is specifically designed for creating 3D models for Minecraft. It features a user-friendly interface and tools that make it easy to create and export models compatible with the game. Blockbench is a popular choice for creating custom skins, blocks, and even entire structures for Minecraft.
Choosing a Subject and Design

Now that you understand the basics of Minecraft fan art, let’s dive into the fun part: choosing your subject and designing your model. The possibilities are endless!Your subject is the heart of your fan art, so choose something that excites you.
Whether you’re a fan of specific characters, creatures, or iconic structures, there’s a world of inspiration to tap into.
Popular Subjects for Minecraft Fan Art
- Characters:Minecraft boasts a diverse cast of characters, from the iconic Steve and Alex to unique mob characters like the Enderman, Creeper, and the adorable villagers. These characters are instantly recognizable and provide a solid foundation for your fan art.
- Creatures:Minecraft’s vibrant ecosystem is filled with fascinating creatures. From the menacing Wither to the peaceful sheep, these creatures offer a wide range of design possibilities, allowing you to explore different textures, shapes, and sizes.
- Structures:Minecraft is renowned for its impressive structures, from towering castles and intricate farms to cozy houses and breathtaking landscapes. These structures offer a great opportunity to showcase your modeling skills and create a sense of scale and detail.
Translating Minecraft Aesthetics into 3D Models
Minecraft’s blocky aesthetic is unique and instantly recognizable. Here are some techniques to translate that into 3D models:
- Blocky Shapes:Embrace the inherent blockiness of Minecraft. Use simple, geometric shapes like cubes and rectangular prisms to build your models. This approach captures the essence of the game’s visual style.
- Texture Mapping:Minecraft’s textures are iconic. Use texture maps to accurately represent the textures of different blocks and materials. This ensures your model visually matches the in-game aesthetic.
- Color Palette:Minecraft’s color palette is generally bright and vibrant. Use a limited range of colors that are consistent with the game’s style. This helps create a cohesive and recognizable visual identity.
Incorporating Unique Elements and Personal Touches
While staying true to Minecraft’s aesthetics, don’t be afraid to add your own unique flair. This is where your creativity shines through.
- Custom Textures:Create custom textures to give your model a unique look. You could design new block textures or create textures based on your favorite themes or inspirations.
- Pose and Animation:Add dynamism to your model by posing it in interesting ways or creating simple animations. This brings your creation to life and adds another layer of engagement.
- Accessories and Details:Incorporate accessories and details to personalize your model. Think of adding tools, weapons, or even unique items that reflect the character’s personality or story.
Modeling and Texturing
This section delves into the practical aspects of bringing your Minecraft fan art to life, focusing on the essential steps of 3D modeling and applying textures. We’ll explore how to use popular software like Blender and Maya to create your models, and then learn how to add realistic or stylized details through texturing.
Modeling in 3D Software
The initial step in creating 3D Minecraft fan art involves building the model itself. This process typically involves using specialized 3D modeling software such as Blender or Maya. Blender and Maya offer a wide range of tools for creating 3D models.
These tools allow you to manipulate vertices, edges, and faces to shape your model. Here’s a general Artikel of the modeling process:* Creating Primitives:Start by creating basic shapes, like cubes, spheres, or cylinders, which can be manipulated and combined to form more complex objects.
Extrude and Bevel
Use extrusion and beveling techniques to add depth and detail to your model. Extrusion creates new faces by pushing existing faces outward, while beveling rounds sharp edges.
Modifying Geometry
Tools like subdivision surfaces, smoothing, and edge loops allow you to refine the shape of your model and create smooth curves or sharp angles as needed.
Boolean Operations
Combine multiple objects using Boolean operations like union, intersection, and difference to create more intricate shapes.
The process of modeling involves manipulating vertices, edges, and faces of 3D objects to achieve the desired shape.
Applying Textures
Once your model is complete, you’ll need to add texture and color to give it a realistic or stylized look. This is where texturing comes in. Textures are essentially images that are applied to the surface of your model. These images can be created from scratch using image editing software or sourced from online libraries.
Here’s a breakdown of the texturing process:* UV Mapping:UV mapping is the process of assigning a 2D coordinate system to the surface of your 3D model. This allows you to wrap your texture image onto the model’s surface.
Creating Textures
You can create textures using image editing software like Photoshop or GIMP. These textures can be simple color gradients or intricate patterns.
Applying Textures
Once you’ve created your texture, you can apply it to your model using your 3D modeling software. This involves assigning the texture to specific materials and adjusting settings like scale and rotation.
Material Properties
You can adjust the properties of your materials to create different effects. For example, you can adjust the reflectivity, roughness, and color of your materials to make them look more realistic or stylized.
Texturing involves applying images to the surface of a 3D model to add visual detail and realism.
Achieving a Realistic or Stylized Look
The choice between a realistic or stylized look depends on the desired aesthetic for your Minecraft fan art.* Realistic Look:To achieve a realistic look, you’ll need to pay attention to details such as lighting, shadows, and material properties. High-resolution textures and accurate lighting techniques are crucial.
Stylized Look
For a stylized look, you can use bold colors, exaggerated shapes, and simplified textures. This approach often involves creating a unique visual style that reflects the artist’s personal interpretation.
The choice between a realistic or stylized look depends on the artistic vision and the desired aesthetic for your Minecraft fan art.
Rendering and Lighting: How To Make And Share 3D Minecraft Fan Art
Rendering is the process of creating a final image from your 3D model. It’s the step where you bring your creation to life, adding depth, realism, and visual appeal.
Rendering Techniques
Rendering techniques play a crucial role in determining the final look and feel of your Minecraft fan art. Here’s a breakdown of some popular techniques:
- Ray Tracing: This technique simulates how light interacts with objects in the real world. It’s known for producing highly realistic images with accurate shadows, reflections, and refractions. Ray tracing is often used in high-end games and movie productions.
- Rasterization: This technique is simpler and faster than ray tracing. It renders objects by breaking them down into pixels and then applying colors and textures to them. Rasterization is widely used in real-time rendering applications, like video games.
- Path Tracing: A more advanced technique that builds upon ray tracing. It simulates the path of light as it bounces around a scene, creating more realistic and detailed images, especially for complex lighting scenarios.
Lighting Setups
Lighting is crucial for setting the mood and atmosphere of your Minecraft fan art. The right lighting setup can make your creation pop and highlight its details.
- Directional Light: This is a basic type of light that shines from a single direction, simulating the sun or a distant light source. It’s great for creating natural-looking scenes with defined shadows.
- Point Light: This light source emits light in all directions, like a light bulb or a torch. Point lights are useful for creating localized illumination and highlighting specific areas.
- Spot Light: This type of light emits a focused beam of light, similar to a spotlight. It’s ideal for creating dramatic effects, highlighting specific objects, or creating a sense of depth.
- Ambient Light: This is a soft, diffuse light that illuminates the entire scene. Ambient light provides a base level of illumination, making the scene look more natural and less harsh.
“Remember, lighting can make or break your fan art. Experiment with different setups to find the best look for your creation.”
Sharing Your Fan Art
You’ve poured your heart and soul into creating your 3D Minecraft fan art, and now it’s time to share it with the world! Sharing your work is a great way to connect with other Minecraft fans, get feedback, and inspire others.
Popular Platforms for Sharing
The internet offers a wide range of platforms where you can share your Minecraft fan art.
Want to take your Minecraft fan art to the next level? Dive into the world of 3D animation and bring your creations to life! To get started, you’ll need the right tools, and there are plenty of options out there.
Check out our guide on Best Tools for Making 3D Minecraft Animations: Blender, Cinema 4D, and More to find the perfect software for your style and skill level. Once you’ve mastered the basics, you’ll be able to create stunning animations that will impress your fellow Minecraft fans!
- Social Media:Platforms like Twitter, Instagram, and Facebook are excellent for sharing your work quickly and easily. Many Minecraft communities and fan pages exist on these platforms, making it easy to connect with fellow enthusiasts.
- Dedicated Minecraft Communities:Websites like Planet Minecraft, Minecraft Forums, and Reddit’s r/Minecraft are specifically dedicated to Minecraft and offer a thriving community for sharing fan art.
- Art Portfolio Websites:Platforms like ArtStation, DeviantArt, and Behance are popular for showcasing your work to a broader audience and building a professional portfolio.
Optimizing Images for Online Sharing
To ensure your fan art looks its best online, it’s crucial to optimize the images for different platforms.
- File Size:Large file sizes can slow down loading times, leading to a frustrating experience for viewers. Aim for a balance between image quality and file size. Tools like Photoshop, GIMP, or online image compressors can help you reduce file size without sacrificing quality.
- Image Resolution:The ideal resolution for online sharing depends on the platform. For social media, a resolution of 1080 pixels wide is often sufficient. For art portfolio websites, you may want to upload higher-resolution images for better detail.
- File Format:JPEG is a popular choice for online sharing due to its good compression ratio. However, PNG is preferred for images with transparent backgrounds.
Engaging with the Minecraft Community
Sharing your fan art is just the first step. To make the most of it, actively engage with the Minecraft community.
- Join Discussions:Participate in online forums and social media groups related to Minecraft. Share your thoughts, ask questions, and connect with other fans.
- Seek Feedback:Don’t be afraid to ask for constructive criticism. Feedback can help you improve your skills and create even better fan art.
- Collaborate with Others:Consider collaborating with other artists on projects. This can lead to new ideas, perspectives, and friendships.
Advanced Techniques
Taking your Minecraft fan art to the next level often involves incorporating advanced techniques that add depth, dynamism, and a touch of professional polish. This section explores three key techniques: animation, rigging, and post-processing, showcasing how they can elevate your creations.
Animation
Animation breathes life into your Minecraft fan art, allowing you to tell stories, showcase movements, and create engaging experiences. By animating your models, you can bring static creations to life, making them more dynamic and interactive.
- Keyframing: The foundation of animation, keyframing involves setting key poses at specific points in time, allowing the software to interpolate the movement between these poses.
- Motion Capture: For complex animations, motion capture technology can be used to capture real-life movements and translate them into digital animation. This technique is often used in professional productions, offering a high level of realism.
- Procedural Animation: This technique involves using algorithms and rules to generate animation automatically, eliminating the need for manual keyframing. Procedural animation is ideal for repetitive movements or natural phenomena, such as wind blowing through leaves or water flowing in a river.
For instance, you could animate a Minecraft character performing a specific action, such as mining, crafting, or fighting. Animation software like Blender or Maya offers robust tools for creating intricate animations.
Rigging
Rigging is the process of creating a skeletal structure within a 3D model, allowing you to manipulate and pose it realistically. This technique is essential for animating characters and objects, enabling them to move and deform naturally.
- Joints: These represent the bones of the skeleton, allowing for movement and deformation.
- Controls: These are handles that allow you to manipulate the joints and pose the model.
- Skinning: This process connects the model’s surface to the underlying skeleton, ensuring that the model moves and deforms realistically as the skeleton is manipulated.
Imagine a Minecraft character with a fully rigged body, capable of walking, running, jumping, and performing various actions. Rigging allows you to achieve this level of detail and expressiveness.
Post-Processing
Post-processing involves applying various effects and adjustments to your rendered image after it has been created. This can enhance the overall look and feel of your fan art, adding depth, realism, and visual interest.
- Color Grading: Adjusting the color balance and overall tone of your image to create a specific mood or atmosphere.
- Sharpening: Enhancing the sharpness and detail of your image.
- Depth of Field: Simulating the effect of a camera lens, blurring the background to focus attention on the subject.
- Motion Blur: Adding a sense of movement to your image by blurring objects in motion.
For example, you could use post-processing to create a dramatic, cinematic look for your Minecraft fan art, enhancing the lighting, adding subtle color adjustments, and blurring the background to focus on the subject.
Inspiration and Resources
The world of Minecraft fan art is brimming with creativity and talent, offering a wealth of inspiration for your own projects. By exploring the works of other artists and utilizing available resources, you can elevate your skills and discover new possibilities.The journey of creating 3D fan art is a continuous process of learning and experimentation.
By actively seeking inspiration from diverse sources and engaging with the community, you can push your creative boundaries and develop your unique artistic style.
Examples of Impressive Minecraft Fan Art
Here are a few examples of impressive Minecraft fan art from different creators, showcasing the diversity and artistry within the community:* [Artist Name]created a stunning 3D model of [Subject] using [Software Name]. The intricate details and realistic textures bring the subject to life, capturing the essence of Minecraft’s aesthetic.
- [Artist Name]‘s fan art of [Subject] stands out for its innovative use of lighting and shadow, creating a dramatic and atmospheric scene. The artist’s skillful use of color and composition adds depth and visual interest.
- [Artist Name]‘s 3D model of [Subject] showcases a unique artistic style, blending realism with stylized elements. The artist’s attention to detail and creative use of textures results in a visually captivating piece.
Tutorials and Resources, How to Make and Share 3D Minecraft Fan Art
The internet is a treasure trove of resources for aspiring 3D artists. Here are some websites and platforms that offer valuable tutorials, resources, and communities for learning and inspiration:* [Website Name]offers a wide range of tutorials for various 3D software programs, covering topics from basic modeling to advanced techniques.
- [Website Name]is a popular platform for sharing and discovering 3D models, textures, and other resources. Users can download free and paid assets to enhance their projects.
- [Website Name]hosts a vibrant community of 3D artists, providing a space for sharing projects, asking questions, and getting feedback.
Importance of Continuous Learning and Experimentation
The field of 3D art is constantly evolving, with new techniques and software emerging regularly. To stay ahead of the curve and enhance your artistic skills, it’s crucial to embrace continuous learning and experimentation.* Explore new software and techniques:Don’t be afraid to try out different 3D software programs and experiment with various techniques to discover new possibilities.
Stay updated with industry trends
Keep up with the latest advancements in 3D art by following industry blogs, attending workshops, and engaging with online communities.
Challenge yourself with new projects
Take on challenging projects that push your creative boundaries and force you to learn new skills.
Seek feedback and criticism
Don’t be afraid to share your work with others and receive constructive criticism. Feedback can help you identify areas for improvement and refine your artistic vision.
Final Wrap-Up
Creating and sharing 3D Minecraft fan art is a rewarding experience that allows you to connect with the vast community of players who share your passion for the game. By embracing the creative process, experimenting with different techniques, and sharing your work with the world, you can make a lasting impact on the Minecraft fan art scene.
Remember, the journey of learning and creating is just as important as the final product. So, keep exploring, keep experimenting, and keep sharing your unique Minecraft fan art with the world!